 |
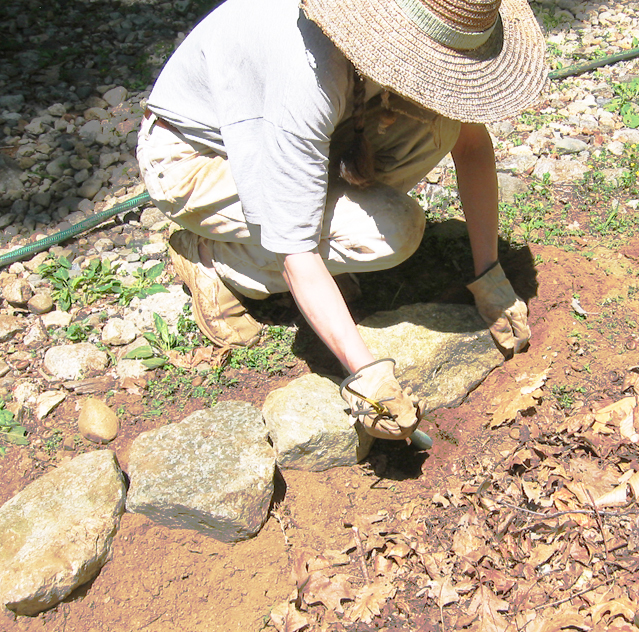
| Pulling away dirt to set the stone. |
As you know if you’ve been reading our posts, this piece of land grows stones, and not just stones but rocks, boulders, and ledge. Ledge is the biggest rock of any, but how big we can’t quite get a handle on. No one seems to know. Sometimes what appears to be ledge is just a really big rock. We’re not sure but we think that ledge might be a rock too big for any machine to move. Anyway, the topic at hand involves not ledge, but totable stones that can be picked up and moved by hand.
Suddenly one day I had an inspiration to make an edging between a gravel pathway and the swale at the top of the blueberry patch. It seemed that a stone edging would make a neat transition between path and swale making both sides easier to maintain.
 |
| Trying the stone in the hollowed dirt. |
And so I gathered a pile of stones. These were picked to be big enough to make a solid edging, but not too heavy to carry. Ones that are too big to carry have to be rolled or tractored, and that kind of work is reserved for more important projects like rock walls.
Although I started with a pile of stones, more were found as I dug in the ground to set them. It’s a good idea to gather more than you think you will need, because in my experience they are usually needed. And in this case, I did run out before finishing and had to scavenge for more.
 |
| Adjusting the dirt so the stone will fit how I want it to. |
The second thing to do is find a way to make a line so you can set the stones along it without having to guess where to put the next one. I scored a line in the dirt by pulling a shovel along. Another way would be to line up a garden hose to form the shape of the edging, and then dig along it.
The next step is to start the process of setting each stone. I do them one at a time setting each one with the flattest side on top, and at a depth that will keep the top of the edging as level as I can get it. If I can walk barefoot on my finished edging, then it’s been done right. Since the stones are all entirely different from each other, the depths that they will be set are also all different.
 |
| Tamping dirt around the stone to hold it in place. |
Using a hand cultivator- a three pronged gardening tool- I pull away the dirt. If the dirt is too compacted I would use a shovel to dig it out, but for this edging all I needed was the hand cultivator.
Since a stone has no determined shape, I figure out what is the best orientation for it, rolling it around a couple of times until it looks like it will line up in the edging. Then I check the depth, taking the stone out and either digging away or adding dirt as needed. When the stone is taken out of its space it’s easy to see where it has pushed against the dirt. Hollow out where the dirt was pushed on and add dirt where it has not. Getting the stone to set right might take a few tries, but the effort is worth it in the end.

The final step is to start adding some dirt around the stone, and to tamp it so that any hollow spots get filled in. For a tamper I use the handle of the hand cultivator. When the stone feels solid I go on to the next one.
Now that all of the stones are set this edging looks like it will do the job of separating the two areas and keeping the pathway gravel in place. Maintaining this area will be much easier. And I can walk on it barefoot- none of the stones rock about underfoot, and the tops are nearly level. The stone setting technique, by the way, can be used to create pathways or even a stone courtyard. If your land grows stones like ours does it makes sense to get some good use out of them. -jmm
No comments:
Post a Comment